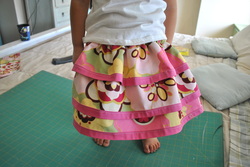
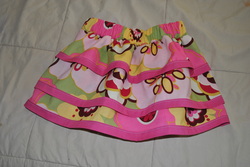
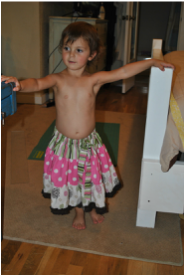
Look how cute this skirt is...
I am going to give you a step by step- with pictures on how to make this skirt in (possibly) under an hour. That's how long it took me, but I make no gaunantees. :)
Step 1: The person whom you are making the skirt for needs to be measured. From the waist (where they like their pants to sit, which is usually just below the belly button) to the length that you want the skirt. I wanted it to fit Kenaley just below the knees, so her measurement was 10 inches. Then you need to add 1/2 an inch for a seam allowance. Then you need to do a little simple math: that number needs to be divided by 3, as close as you can get it. For me it was 3 1/2 inches.
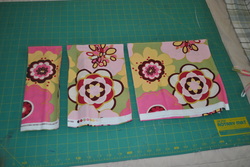
Next, you are going to cut 3 pieces of fabric remnant to remnant edge, the first one being the length that you want the dress plus 1/2 and inch, the next one being that meausurement minus 1/3 the length (so for me it was 7 inches) and the other being minus 2/3 the length (so for me it was 3 1/2 inches)
Then you will need one more piece of the same fabric that measures twice the width of your elastic that you are using plus one inch, I was using 1 1/2 inch elastic so I made a strip 4 inches wide from remnant to remnant edge.
Then you will need one more piece of the same fabric that measures twice the width of your elastic that you are using plus one inch, I was using 1 1/2 inch elastic so I made a strip 4 inches wide from remnant to remnant edge.
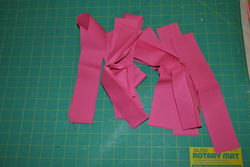
The last cuts that you will be making are for your trim at the bottom of each layer. These are 2 1/2 inches wide from remnant to remnant edge. I bought a fat quarter so I needed to cut more than 3, but if you buy just a strip of fabric by the yard, you will only need 3 of these. Sew them together only if you bought a fat quarter.

Next iron these in half, with the right side of the fabric out. Then sew it to the bottom edge of each strip of fabric except the waist band.
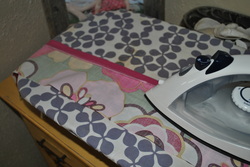
Next, you are going to iron these...2 times. First time you are going to iron the right side of the fabric making sure to get the seam ironed out really well. Then flip it over and iron the seam down because you are going to do some top stitching and it sews nicer when you have more than one layer.
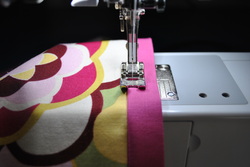
Now for top stitching- because it makes it look more finished. You will want to line up the edge of your trim with the inside tooth of your presser foot.
Let me explain that a little better: The front of your presser foot has two teeth, one on either side. Normally when you sew you want a 1/4 inch seam and so you line up your fabric with the outside of your presser foot to gage that seam length. When you are top stitching, you only want an 1/8 inch seam, so you line it up with the inside of the tooth to gage that distance. You follow??
Let me explain that a little better: The front of your presser foot has two teeth, one on either side. Normally when you sew you want a 1/4 inch seam and so you line up your fabric with the outside of your presser foot to gage that seam length. When you are top stitching, you only want an 1/8 inch seam, so you line it up with the inside of the tooth to gage that distance. You follow??
Next you are going to take both of your short ends of your fabric and sew them together with the right side together, so you essentially have 3 continious loops of fabric. It is more important to line up the bottom edge of your fabric with the trim on it than the top, because the top will not be showing.
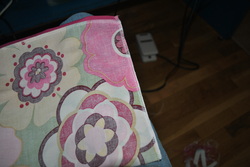
Now you are going to take the three layers of your skirt and put them together with the longest one on the inside, middle length in the middle and the shortest on the outside. Put a few pins in it to hold it in place then stitch it together. You can use a loose stitch, because this is just to make the next steps easier to finish.
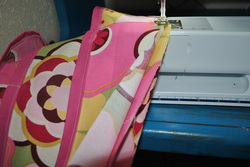
Now you are going to take the waist band, sew the two short ends together, then you are going to iron it in half with the right side of the fabric facing out. Pin this to the skirt and then sew the two together LEAVING about a 3 inch opening so you can feed your elastic in.
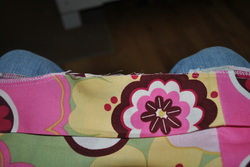
A gap like this. Measure around the waist of the person that you are making this skirt for, then take off 1/2 an inch from that and cut a piece of elastic.
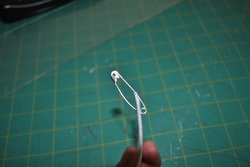
Now here is my little bonus tip of the day- technically 2 of them. :) When you
feed your elastic in, put a large safetly pin on the edge that you are feeding
in so you have something that is not flimsy to feed through the sleeve. It helps
a lot.
PLUS!! ....
feed your elastic in, put a large safetly pin on the edge that you are feeding
in so you have something that is not flimsy to feed through the sleeve. It helps
a lot.
PLUS!! ....
If you double pin the opposite end of the elastic so you don't just pull it through, it will save you frutration in the end. Put one pin going one way and another pin going the opposite way so they won't get pulled out. Once you get the elastic all pulled through lay the two ends flat on top of each other, not right sides together or you are going to have a lump inside your waist band, and zig zag over the ends once forward, once backwards and then forward again. Pull the fabric flat so that you can sew up the gap and then you are through!!!
SO CUTE!!!. If you are creative enough, you can use three different fabric to make it even funner!!
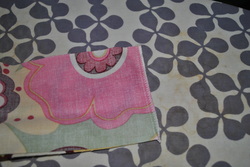
I have done it in this similar skirt, but I wanted to try a little something different with this one.
And sadly, I did not take pictures of when I was making this skirt. I could give you a verbal how to, but no pictures to help out. Just comment below if you want to learn how to make this one as well. :) This one has a tight ruffle on the bottom and a long tailed bow on it as well. I love the way it turned out too.
So you survived all the way through a tutorial blog on sewing....
You should be proud.
AND SURPRISED!!
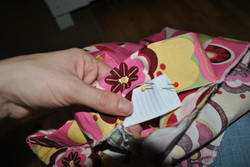
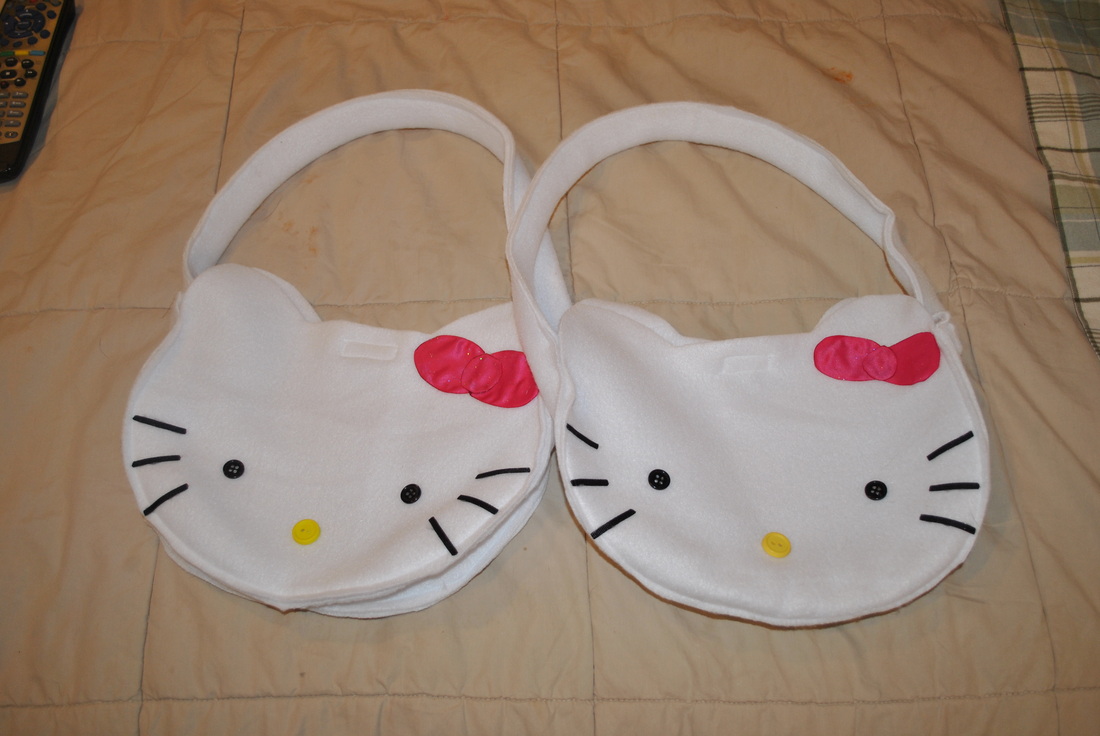
Because I want some feedback and if you will give it to me, then you will be entered to win one of these totally cute kids purses that I also made today ...
And sadly, I did not take pictures of when I was making this skirt. I could give you a verbal how to, but no pictures to help out. Just comment below if you want to learn how to make this one as well. :) This one has a tight ruffle on the bottom and a long tailed bow on it as well. I love the way it turned out too.
So you survived all the way through a tutorial blog on sewing....
You should be proud.
AND SURPRISED!!
Because I want some feedback and if you will give it to me, then you will be entered to win one of these totally cute kids purses that I also made today ...
Here's how you do it:
Enter a comment on this blog, you hated it, you loved it, it made no sense, I talk too much...whatever you feel you want to say.
But be kind.
You will be entered 1 time for commenting.
If you want to enter more times, then share my link on your blog/facebook page or pin this tutorial to your pinboard. One extra entry will be given for each bonus item that you do. Let me know that you did such so you will get your extra entries.
I have 2 purses that I will be giving away so your chances are already doubled!!
Drawing will be done on Tuesday (September 18) morning so make sure that you get it all done before then and I will announce the winner with a new tutorial as well!!!
THANKS FOR YOUR FEEDBACK!!!
 RSS Feed